Image: Brita\Amazon
👉 Are you dissatisfied with the taste or smell of the water coming from your Brita Pitcher?
👉 Want to unlock the secret to filtered water that is actually good?
👉 Do you also want to keep your Brita Pitcher clean but do not know how to clean Brita Pitcher?
If you answered yes to any of these questions, then rest assured, because in this article we will tell you how to clean Brita Pitcher step by step.
There is no doubt that a Brita is known all over the world for being a good water pitcher and dispenser, but if we do not clean your Brita pitcher from time to time, then you will face many problems, like water tasting flat, bland or slightly metallic.
If the Brita Pitcher is not cleaned regularly, bacteria or fungus accumulate in the dirty pitcher, resulting in impure water, which is harmful to your health.
Also, due to dirt in the pitcher, your Brita filter will get damaged quickly, and its life cycle will be reduced, which means that you will have to change the filter frequently, due to which you will have to spend more money.
The solution to all these problems is that you keep cleaning your Brita pitcher regularly, the work is not very difficult.
There are many benefits to cleaning the Brita filter from time to time, some of which we are going to tell you about here.
⨠ You will get great-tasting, clean water with no unpleasant odor from your Brita Pitcher
⨠ You will be assured of your health as the risk of water related diseases will be very low.
⨠ You will get freedom from bottled water. Bottles are made of plastic, which is harmful for our environment.
⨠ By cleaning the Brita Pitcher from time to time, the filter will not get damaged quickly, its lifespan will increase, and it will last until its maximum lifespan, which will save you money.
How to Clean Brita pitcher in 6 Easy Step
Step: 1
In the first step, you have to drain the water inside the Brita pitcher and disassemble it . Take out the parts of Brita like pitcher, reservoir, lid and filter and keep them separately.
Step: 2
After that, you have to clean the reservoir and lid by rubbing it with lukewarm water and mild soap with the help of a nonabrasive sponge or dishcloth.
If your Brita pitcher has an electronic lid, then take care not to submerge the lid in water.
Step: 3
After this, wash the pitcher with lukewarm, soapy water. You can use a sponge or cloth to rub the inside of the pitcher. Also, clean the handle of the pitcher by rubbing it.
Now wash the outside and inside of the pitcher with clean water.
Always wash the pitcher by hand; putting it in the dishwasher can damage it.
Step: 4
If your Brita pitcher is very old, then it may be moldy, or if the water coming into your house is hard, then there may be white limescale spots in your reservoir and pitcher.
You can use white vinegar to get rid of fungus and white limescale. For this, make a mixture of white vinegar and lukewarm water in a 1:1 ratio in a vessel,
Then rub the reservoir and pitcher thoroughly with this mixture and then wash with water.
White vinegar is a natural, non-abrasive cleaning agent that will kill mildew and remove limescale spots without causing any damage to your Brita.
Step: 5
Image: Brita\Amazon
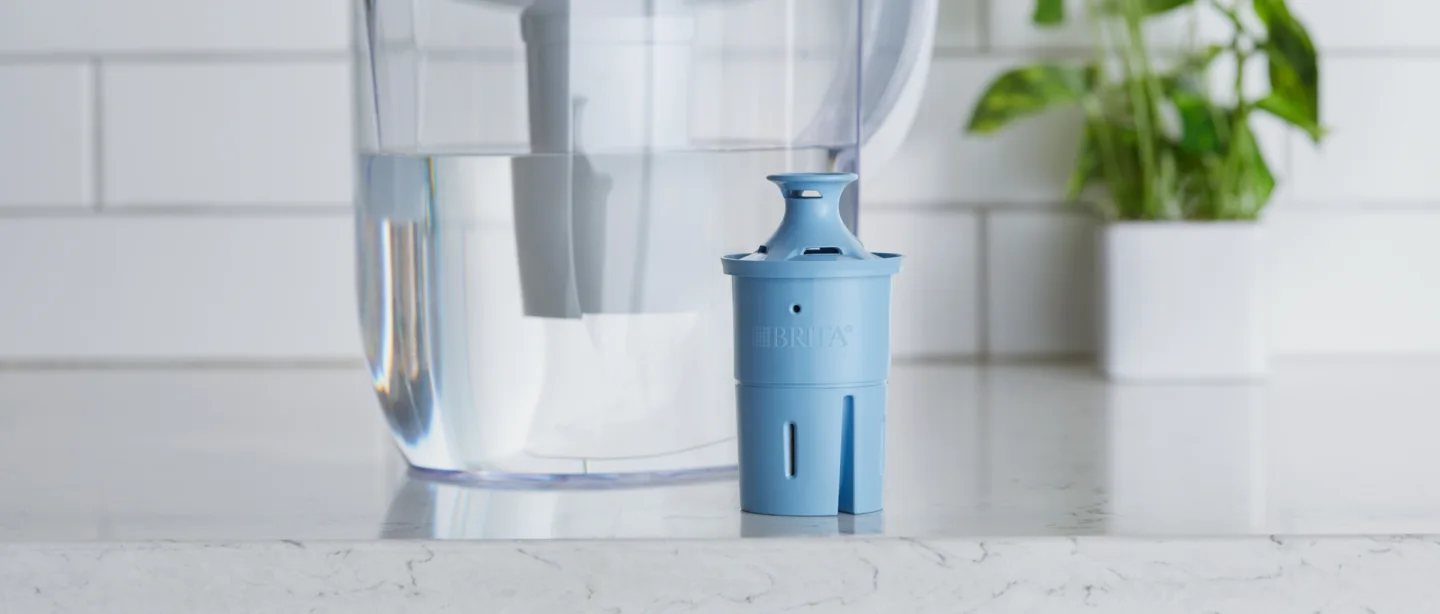
If the filter of your Brita pitcher has become very old, then while cleaning the Brita pitcher, you can remove the old filter and replace it with a new filter.
But if you do not want to change your filter, there is no need to wash the filter. However, if you wish to clean the filter, then wash it with hot water and immediately keep it aside, and let it air dry.
Do not use soap to wash the filter because soap can get stuck inside the filter, causing soapy water to form inside the filter.
How Often You Should Replace Your Brita Water Filter, it depends on the quality of water coming into the house and daily water usage.
Step: 6
Now let all the parts of the Brita like reservoir, lid, pitcher and filter air dry.
When all the parts are air dry, reassemble all the parts so that your Brita pitcher will again be ready to give you clean water.
Now, we hope you know How to Clean Brita Pitcher in 6 Easy Steps
Tips to keep Brita filter clean for a long time.
• Brita pitchers get limescale spots due to hard water. To prevent this, you can use water softener system at home.
• Be sure to replace your old filter with a new one from regular basis, the life cycle of Brita filter is depend upon the model, hence read the instructions for filter replacement of your Brita.
• Do not wash the filter of your Brita Pitcher with soap. If you want to clean the filter, wash it with lukewarm water and let it air dry.
People also ask:
How often do you need to wash a Brita pitcher?
The minimum frequency of washing a Brita pitcher is one month, although you should wash your Brita pitcher every time you change its filter, Brita filters usually need to be replaced every 2–6 months, depending on the model and your usage.
Mold can cause issues in your Brita pitcher due to moisture, residual organic matter, infrequent cleaning, warm storage, and an old filter. Moisture creates a breeding ground for mold and mildew spores, while residual organic matter provides nutrients for mold growth.
How to prevent mold in Brita pitcher
Regularly clean your Brita pitcher with warm soapy water, rinse thoroughly, store in the refrigerator, change the filter as recommended, and ensure all parts are dry before reassembling and using. This will reduce moldiness and provide safe, clean, filtered water.